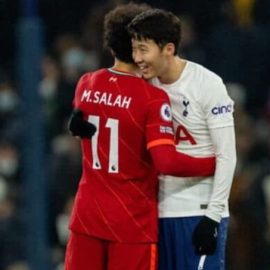
We only had one Premier League match on Thursday, but it was an absolute cracker as Tottenham took on Liverpool.
Both sides were considered strong title contenders just a month and a half ago, but now they are barely hanging to the coattails of the league leaders.
Therefore, this was set to be a crucial match for both sides’ respective title-challenges to end a disappointing January (especially for Liverpool) on a positive note.
Line-ups

Tottenham fielded a 3-4-3 once again with Hugo Lloris in goal. Joe Rodon, Eric Dier and Ben Davier were at the heart of the defence, with Serge Aurier on the right and most interestingly, Matt Doherty on the left. Pierre-Emile Højbjerg partnered Tanguy Ndombele in the midfield, while Steven Bergwijn, Harry Kane and Son Heung-min made up the front three.
Liverpool played in their familiar 4-3-3, but they too made some interesting selections. Alisson kept his place in goal, with a back-four of Trent Alexander-Arnold, Joël Matip, Jordan Henderson and Andy Robertson in front of him as Fabinho missed out completely due to a minor muscle issue. Crucially, Georginio Wijnaldum operated in holding midfield, freeing up Thiago Alcântara and James Milner in front of him. The all-too-familiar front three of Mohamed Salah, Roberto Firmino and Sadio Mané joined forces once again.
Build-up, press and defensive shapes
First of all, let’s take a look at how both teams built from the back, pressed and defended.

Liverpool’s centre-backs were their focal point in the build-up, and they had Wijnaldum right in front of them. While one full-back pushed up, the other stayed tight to the touchline and in line with Wijnaldum to provide an option out wide. Meanwhile, one midfielder dropped into the vacated full-back position (Thiago or Milner depending on whether Alexander-Arnold had pushed up).

For most of the match, though, it was Alexander-Arnold who stayed back during the build-up while Robertson pushed forward and Milner took his spot. This was after Son exploited the hole on the right of defence which the young Englishman left when he got forward (as we will see later).
Here is how Spurs pressed:

Spurs pressed high up the pitch, utilising each of their front-five in possession. Kane marked the defensive midfielder, Wijnaldum, while Bergwijn and Son took a centre-back each. Depending on which wing the ball was played to, the wing-back pushed up to meet the Liverpool full-back, using the touchline as an extra defender in an effort to surround him. The two holding midfielders stayed back, keeping an eye on the other two Liverpool midfielders.

Tottenham defended in a 5-3-2, as their wing-backs joined the defensive line and Bergwijn dropped into the midfield line.
Now for Spurs’ build-up.

Tottenham used a 3-2 at the back with their three centre-backs and two defensive midfielders to play out from the back. Liverpool countered this with a 1-3, as Thiago pushed up from midfield to stay tight to Ndombele, while the front three held their positions.
When the ball was moved to the left centre-back (Davies), Salah pressed the ball, while Firmino positioned himself in a way to keep Højbjerg in his covershadow. Thiago again stayed tight to Ndombele, while Mané stayed close to the right centre-back (Rodon).

On the opposite side, the idea was similar. This time, Firmino would try to move into a position to keep Højbjerg in his overshadow, while Thiago took out Ndombele and Salah kept Davies occupied. Mané didn’t press the ball but instead looked to prevent the out-ball to the wing-back. Previously, this was not necessary as Doherty, being right-footed, couldn’t progress the ball quickly if he received it on the left wing, but on the right, Aurier could move forward quickly.

Further back, Liverpool dropped into a 4-3-3, just as they lined up.
With that in mind, let’s see how both teams operated in possession further up the pitch.
Tottenham’s direct threat
José Mourinho’s Tottenham are known to pose a serious counter-attacking threat, particularly with Kane and Son. They had a number of good chances from such situations in the first half.

As aforementioned, Spurs built up with a 3-2. So, their formation in possession was a 3-2-5, as the wingers tucked inside to make space for the wing-backs, who pushed forward.

However, most of their potent attacks came in transition. The instance above is after Lloris punted the ball long. Spurs targetted Henderson in such situations because he is not a full-time centre-back, and Kane did outmuscle him on certain occasions. Here, he brings the ball down for Bergwijn in a 3v2 situation.

With Kane occupying Henderson, Matip had to focus on preventing Bergwijn from running past him. However, in doing so, he left Son all alone, and the Dutchman found his pacy teammate with a through ball.

As they have been doing all season, Son and Kane exchanged positions regularly. Above, you can see that Son has drifted into a central position, while his English teammate is on the left.

The South Korean international could then use his pace to run at the Liverpool defence, which was a bit low on pure speed with Matip and Henderson. Kane’s playmaking abilities helped too as he had to slip Son in with pinpoint through balls.

Son and Kane’s positional interchanges could even hurt Liverpool without the two linking up. Kane often dropped deep, and this naturally stretched the Liverpool defence, as you can see. Then, a simple long ball over the top was enough to send Son racing through on goal. As aforementioned, he easily had the pace on the Reds’ centre-backs, so he was through on goal once again.
In each case, the common theme was to send Son through on goal in some way or another. The South Korean international didn’t finish as well as he usually does so he couldn’t beat Alisson in two of the three chances, while one was ruled out for a marginal offside.
However, the injury that Kane sustained in the 12th minute reduced his mobility and eventually forced him off at half-time after it got aggravated, so Tottenham’s threat was nullified.
Liverpool’s attacking movements
After going for over 400 Premier League minutes without scoring, Liverpool finally ended their drought with three good goals in this match. Let’s take a look at some of their attacking routines which led to these goals.

At the sharp end, Liverpool had their front three in the most advanced positions, with one midfielder (usually Milner) joining them. The full-backs and holding midfielders formed a line behind them to create a 2-4-4.

The full-backs often joined the front line if the ball was played out wide into a crossing position, as you can see above.
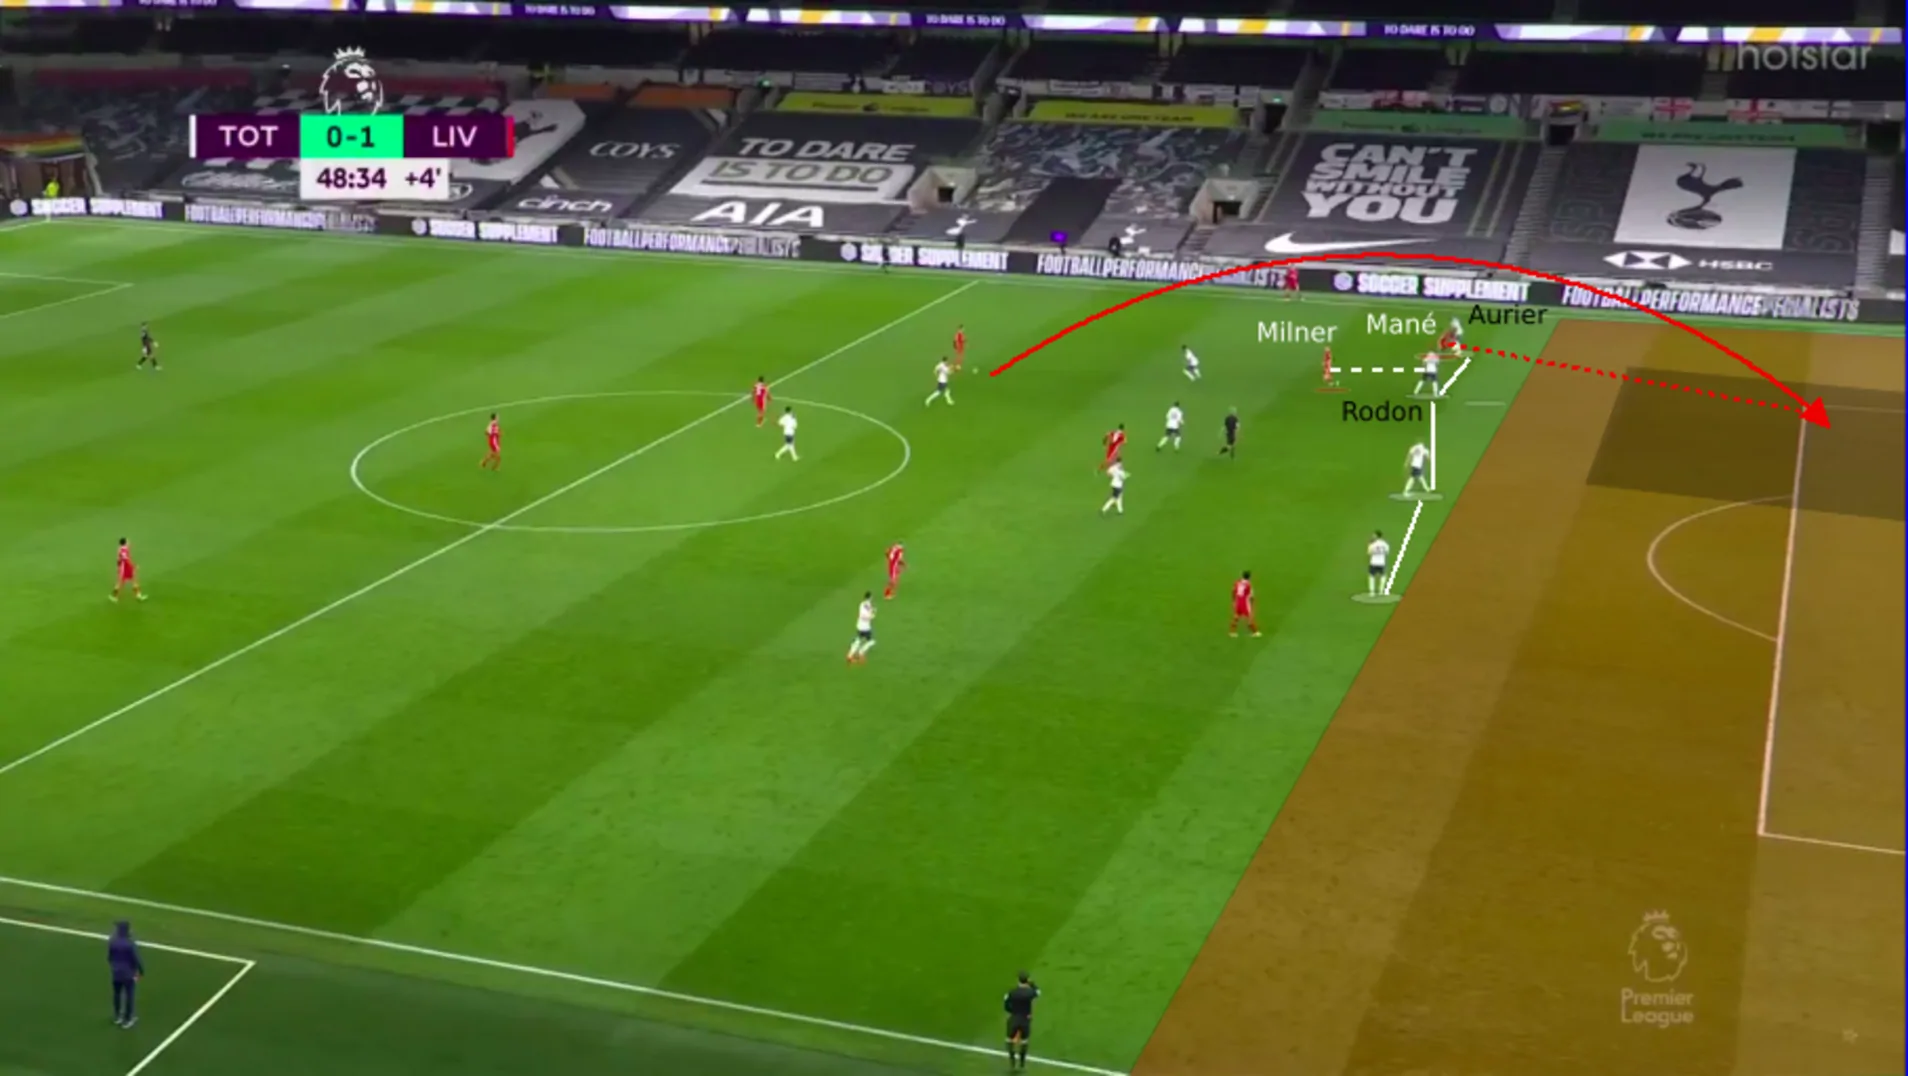
Mané had a great match as he scored one and played a part in his side’s other two goals, and he was Liverpool’s most potent weapon attack. His diagonal runs caused the most damage to Spurs’ defence. Since he was deployed on the left, he targetted the space between Aurier (a defensively weak wing-back) and Rodon (the young right centre-back) in the first half.
He got a lot of joy out of it too. Let’s see how:

Positioning himself on the inside of Aurier, Mané used the help of teammate (with or without the ball) who would drag the inexperienced Rodon out of the defensive line. When the ex-Swansea man committed forward, Mané’s teammate could slip the ball through to him, and he could meet it with a diagonal run.
Let’s take a look at some in-match examples of this:

In the first instance, Mané took down a long ball for Salah right in front of Aurier, finding the Egyptian in what was essentially a 2v3 situation.

Then, both Rodon and Dier stood their ground instead of running back along with Aurier to stop Salah, but in doing so, they left an open space in behind for Mané, who was easily found by his Egyptian teammate.

Now for the next example. This time, Firmino has dragged Rodon out of position, and once again, Mané’s angled run across the inside of Aurier allows him to meet the Brazilian international’s through pass in the space in behind.

This worked for the opener too. Milner’s presence just dragged Rodon a couple of yards away from the defensive line, and that is all that Mané needed to stay onside and meet the long ball in the space in behind the defence. He then squared it to Firmino, who tapped in to make it 1-0.

Mané’s goal also came in a similar scenario. In the second half, Spurs changed some things (which we will discuss below) which saw Doherty move to right-back in a back-four. So, Mané’s new target was the gap between the Irishman and Rodon, which is exactly what he used to turn in Alexander-Arnold’s cross in the second half.
In this way, Mané absolutely exploited Aurier’s defensive incapabilities and an off day for Rodon, punishing the pair’s every small mistake.
Tottenham’s second-half changes
With Kane injured and Liverpool one goal, Mourinho knew that he needed to switch things up for the second half. Interestingly, he chose Erik Lamela to replace Kane instead of going for a more traditional striker like Carlos Vinícius, while Harry Winks replaced a wing-back in Aurier. With that, Spurs switched to a 4-2-3-1 as Doherty switched to right-back, Davies moved over to left-back.

With a new formation and desperate for a goal, Tottenham built up with a 2-4, as the full-backs pushed up alongside the two holding midfielders.

In possession, Spurs’ front-four looked like this. Son was the main striker, with Ndombele drifting to his left behind him. Bergwijn switched over to the left wing to accommodate Lamela on the right.

So, in essence, Spurs had a 2-4-4 in possession in the second half.

The only time this worked was when Højbjerg scored in the second half. The move started with Lamela, who drifted inside from the right and fed the ball out wide to Bergwijn.

With the rest of the Spurs attack pushing into the box, Bergwijn cut inside and rolled the ball into the path of Højbjerg, who smashed it home first-time. So, the one time when Spurs’ new attack worked, it needed some brilliant individual quality to succeed.

Tottenham defended in their 4-2-3-1 in the second half, with Ndombele taking up Kane’s role of marking Wijnaldum from the first half. Depending on which side the ball was, one winger met the Liverpool full-back, while the other came so narrow that he could get in the way of an opposition midfielder.
Gareth Bale replaced Steven Bergwijn late on which led to Lamela switching wings to the left, but in the end, none of it made a difference on the result, and bar the Højbjerg strike, even on Alisson, as Spurs could only accumulate an xG of 0.04 in the second half, which was only from that one shot.
Conclusion
As he will undoubtedly admit to himself, Mourinho got his team selection and tactics wrong with the back-three, but his side were firmly in the match as long as Kane and Son were linking up. However, Kane’s injury firmly swung the tide in Liverpool’s favour, and their defence was absolutely untroubled after he went off.
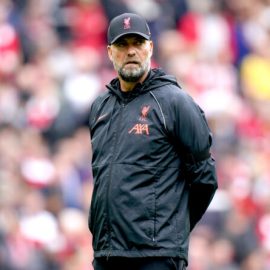
As for Liverpool, while Jürgen Klopp did get his selections right by choosing to push Thiago further up in midfield, they could easily have lost this match had Son’s Achilles tendon not been offside early on in the first half. But, they did control the match thereafter, and they deserve credit for that.
Stats courtesy The xG Philosophy and Sofascore.com
Add Sportslens to your Google News Feed!